User and Resource Management
Objective: Gain an understanding of how to add a new User and Resource in the Admin Module.
Prerequisites: These actions require some things to be completed prior to commencing. The 'clientAdmin' role permission is required to add and edit Users, Resources and Contractor Users.
Adding a New User
In an organization, different users may require different levels of access depending on their roles.
When adding a new user to Brightly Assetic, an Admin will be able to set the user's roles, which limits the user's permissions to read, create, update, and delete the data in different modules.
The new users can be added in the Admin module.
Steps
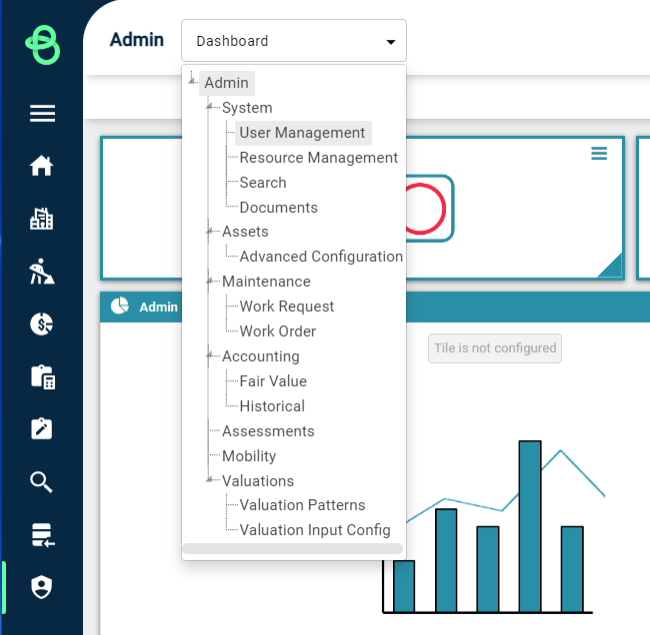
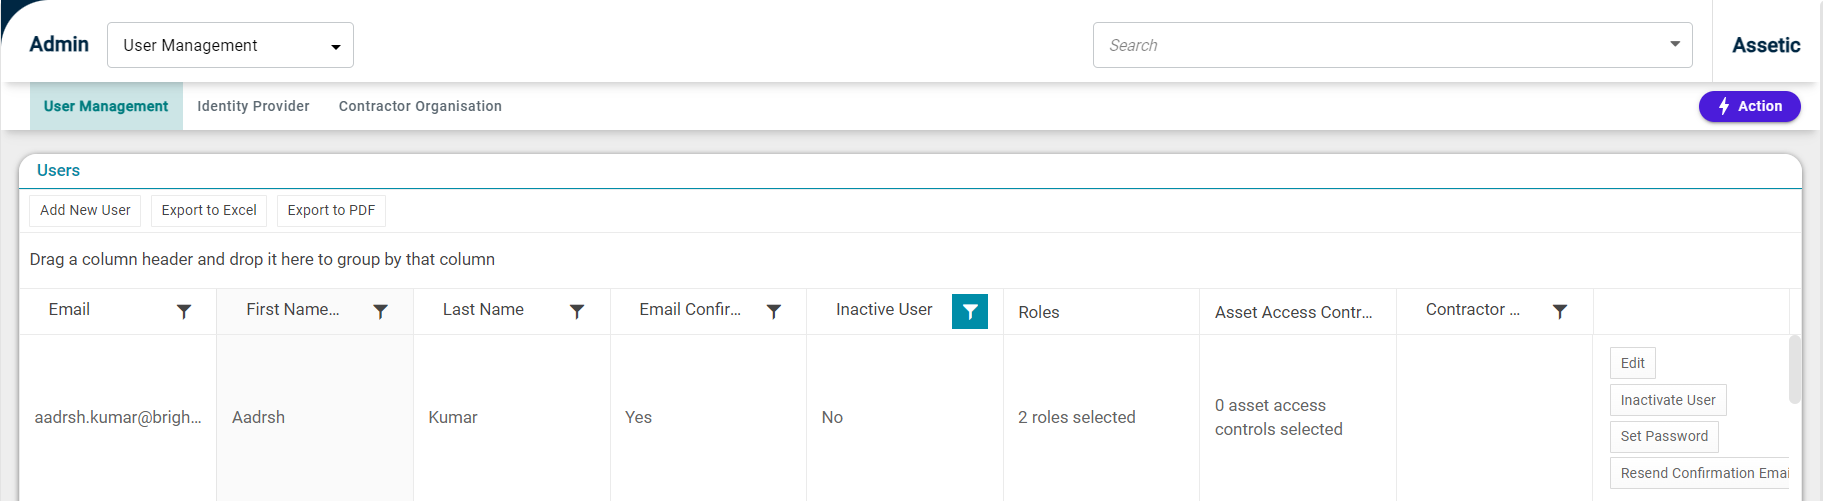
From the Navigation Sidebar, select 'Admin' and select 'User Management' from the Navigation Dropdown.
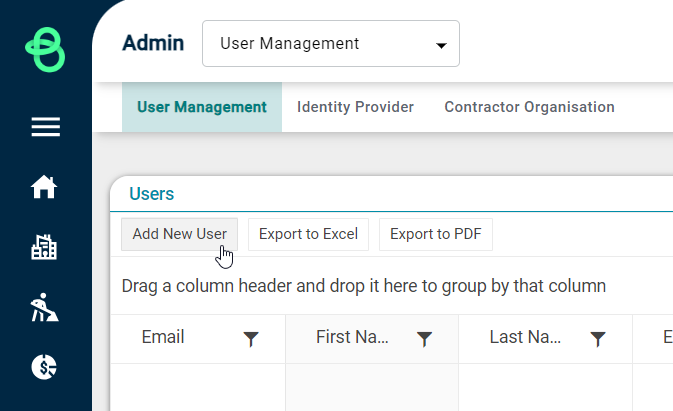
To add a new user, select the 'Add New User' button:
The following view appears after selecting 'Add New User':
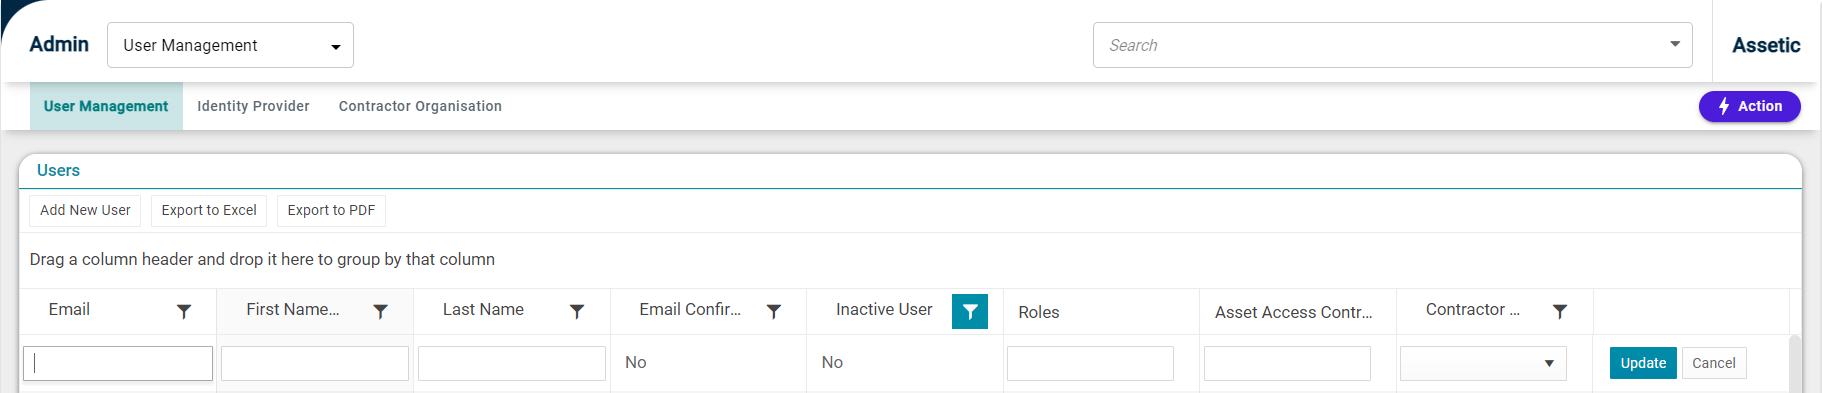
Complete the following details of the new user and click 'Update'.
- Email address
- First name
- Last name
- Roles - Select relevant roles for the user - Roles and Workgroups
- Asset Access Controls - Select the relevant asset access controls for the user - Asset Access Controls
- Contractor Organisation - Select the contractor organisation for a contractor user - Contractor Organisation
'Email Confirmed' indicates if the account has been validated by the new user by clicking on the system-generated URL that the user will receive by email.
Once a new user has been added to a customer environment by the Client Admin, the new user must validate their email address by responding to an auto-generated email containing a URL. The confirmation email can be resent by Administrators using the 'Resend Confirmation Email' button.
The confirmation email link will expire in 1 day and in the following scenarios:
- When the user has changed the password.
- When the user has logged in after the confirmation email has been sent.
If the new user does not respond by validating their account they will still be able to login to the Asset Cloud Environment with a password set by the administrator. However, the following restrictions will apply;
- Users will be unable to launch to Knowledge Base, My Support Tickets and Report Issue or Problem unless the email has been confirmed by the system.
- Client Admins will not be able to modify the email confirmed flag in user management. (The email must be confirmed by the system by either completing the email validation process or password reset process).
- If the email is changed, either by the User or an Admin, a new validation email will be sent to the new email address to confirm ownership of the updated user address.
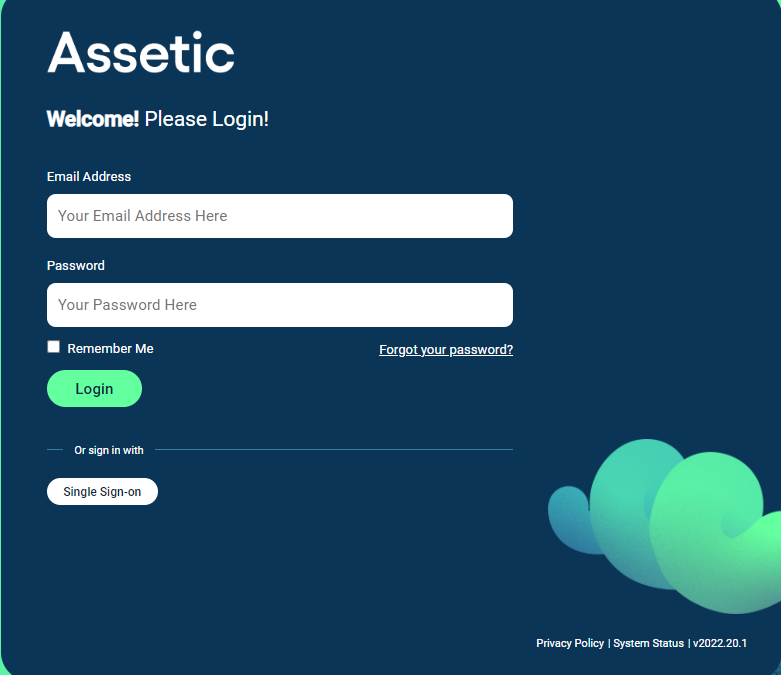
Alternatively, the new user can log in by using the 'Forgot your password?' link on the login page and following the instructions.
Welcome to Assetic Email
When new users are created in an Assetic environment a confirmation email is sent to the users' registered email address.
Once their email is confirmed a Welcome to Assetic email will be received that provides links to:
- Video overview of Assetic Cloud
- Assetic Knowledge Base
- Assetic Support
- Assetic Learning
Delete an Existing User
A client Admin can delete an existing user by selecting the 'Inactivate User' button:
A confirmation message will be displayed to confirm this action.
Once confirmed, the user records will no longer be available.
Adding a New Resource
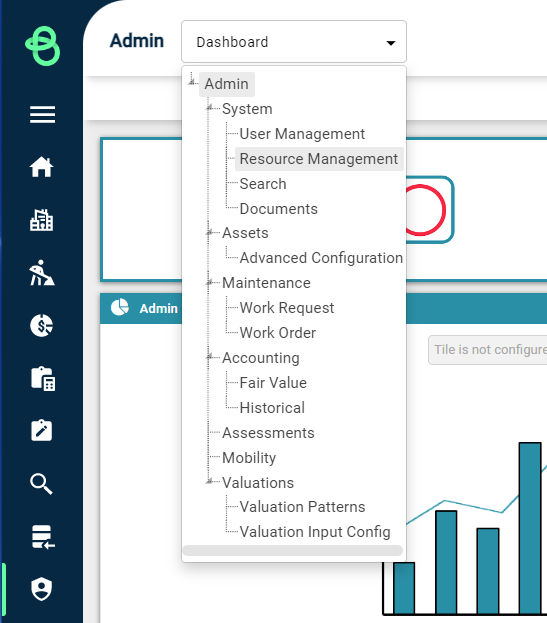
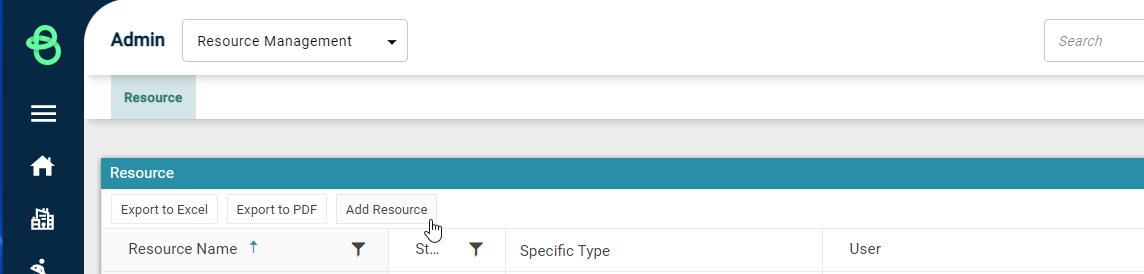
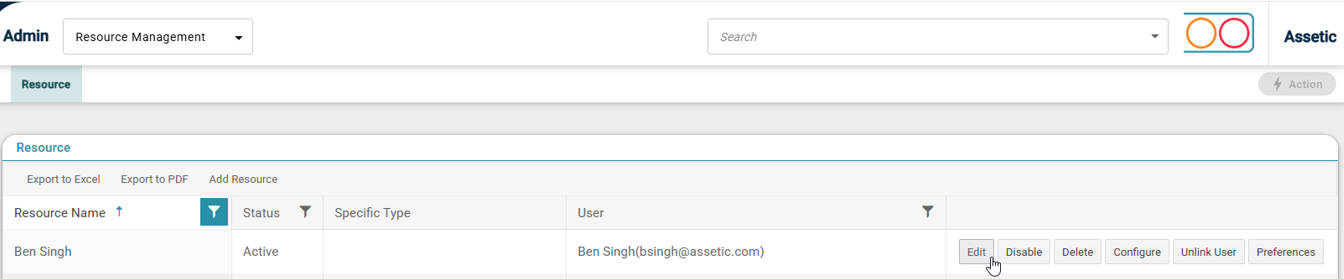
From the Navigation Sidebar, select 'Admin' and select 'Resource Management' from the Navigation Dropdown.
To add a new resource, click the "Add Resource" button:
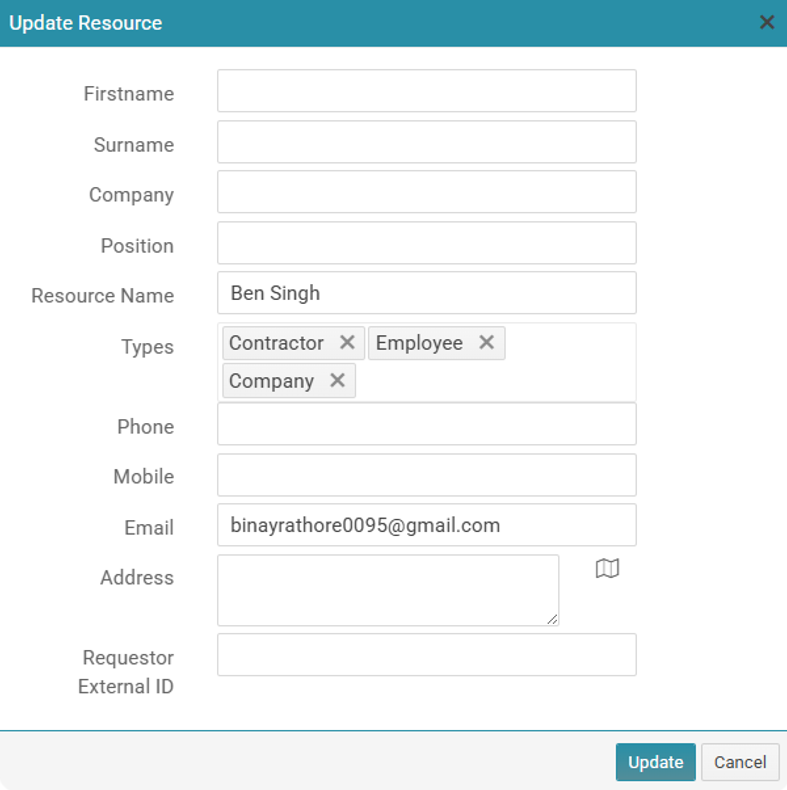
The following dialog box will appear:

Complete the details and select 'Save'. The resource is now created in the system. The different Types (Team, Customer, Contractor, Employee, and Company) affect how the resource can be used.
Email Notification Preferences
By default, the email notifications are not enabled for a resource. To enable email notifications for a resource, Administrators can select the 'Edit' button.
Populate the 'Email' field with the required email address to receive the email and then select 'Update'.
Then select the 'Preferences' button.
In the pop-up window, select the actions for which the resource requires notification by ticking the corresponding checkbox.
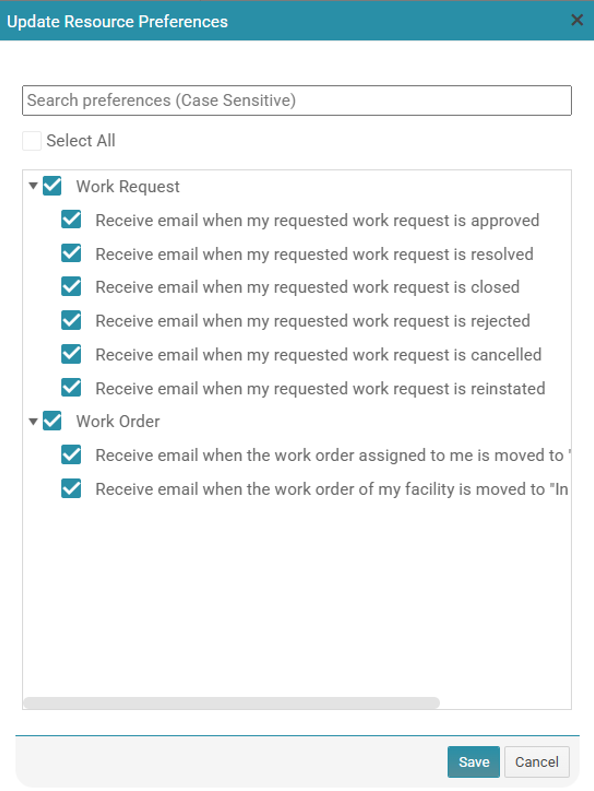
To finalise, select 'Save'.
The person (whose email has been entered above) will then begin to receive email notifications according to the selected notification preferences. Note that this includes Work Requests that weren’t directly updated, but which had a status change due to a change in their linked Work Order, such as a Work Request that has been moved to a status of "Resolved" or "Closed" as the result of a linked Work Order being updated, or a Work Request that was reinstated as the result of a linked Work Order being reinstated.
An Asset is considered to be the facility of any given Resource if that Resource is populated in the 'Facility Manager' Asset Attribute field for that Asset, for the purposes of email notifications.
Note: The 'Facility Manager' field is not available against all Asset categories.
Configure Resource:
Deleting a Resource
To delete a resource, select the 'Delete' button against that resource:

A confirmation pop-up will appear:
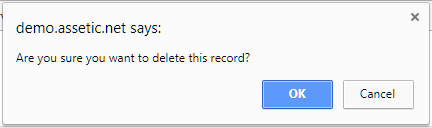
Select 'OK' to delete the resource. Note that if the resource is linked to a user, the link will need to be removed before deletion is possible.
Unlinking a User from a Resource
To remove/unlink a user from a resource, select the 'Unlink User' button that is available against the resource:

A confirmation dialog will pop up:
Select 'Yes' and the user will be unlinked from the resource while a confirmation message is being displayed on the bottom right-hand side, as shown below:

Marking a Resource as Inactive
To mark a resource as Inactive, select the 'Disable' button that is available against the resource:

A confirmation dialogue with a pop-up:
Click Yes to mark the resource as Inactive.
